Step 2: On-Site Consultation and Assessment
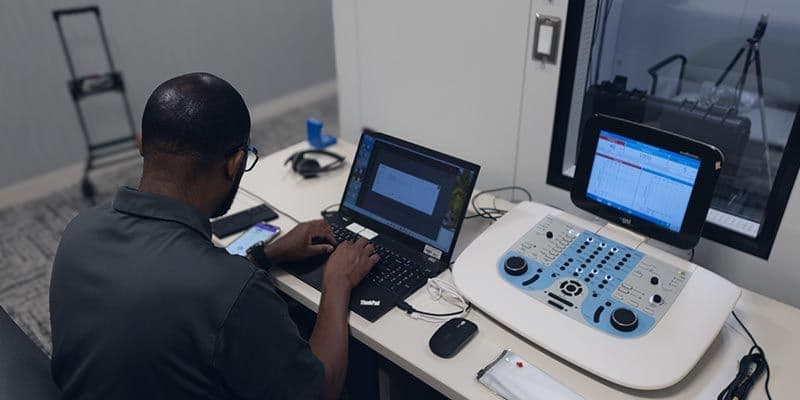
When your technician arrives, they’ll start with a brief on-site consultation to understand your workflow and determine your calibration needs. This step helps identify any performance or accuracy issues across your diagnostic equipment. Your technician’s expertise ensures your entire setup functions accurately and consistently.
Step 3: Comprehensive Calibration Process
Each calibration follows the highest standards for precision, safety, and quality.
During your calibration, the technician will:
- Verify transducer output and frequency accuracy
- Inspect and clean all jacks and connectors to prevent interference
- Ensure compliance with ANSI standards
- Provide recommendations if adjustments or repairs are needed
This thorough process keeps your hearing test equipment performing optimally and ensures reliable results for every patient.
Step 4: Documentation and Easy Digital Access
Once calibration is complete, your technician will:
- Apply a calibration sticker to each device showing the next due date
- Email all paperwork, including calibration certificates and a full condition report
All documentation is securely stored in the e3 Diagnostics cloud system, accessible anytime via an innovative QR code.
Watch the video below to learn more about our Calibration QR Stickers


